November 8, 2022

When in Doubt, Add Another Petticoat

It is a truth universally acknowledged, that a single petticoat must be accompanied by at least a second petticoat, if not more, to provide the proper support for a fashionable overskirt.  When we last left off, I had completed an 1880s flounced petticoat, and decided that I needed a second, shorter petticoat to complete my Bustle Era undergarment set:

Completed 1880s petticoat with decorative flounce, intended to be worn under a bustle.

Construction Details

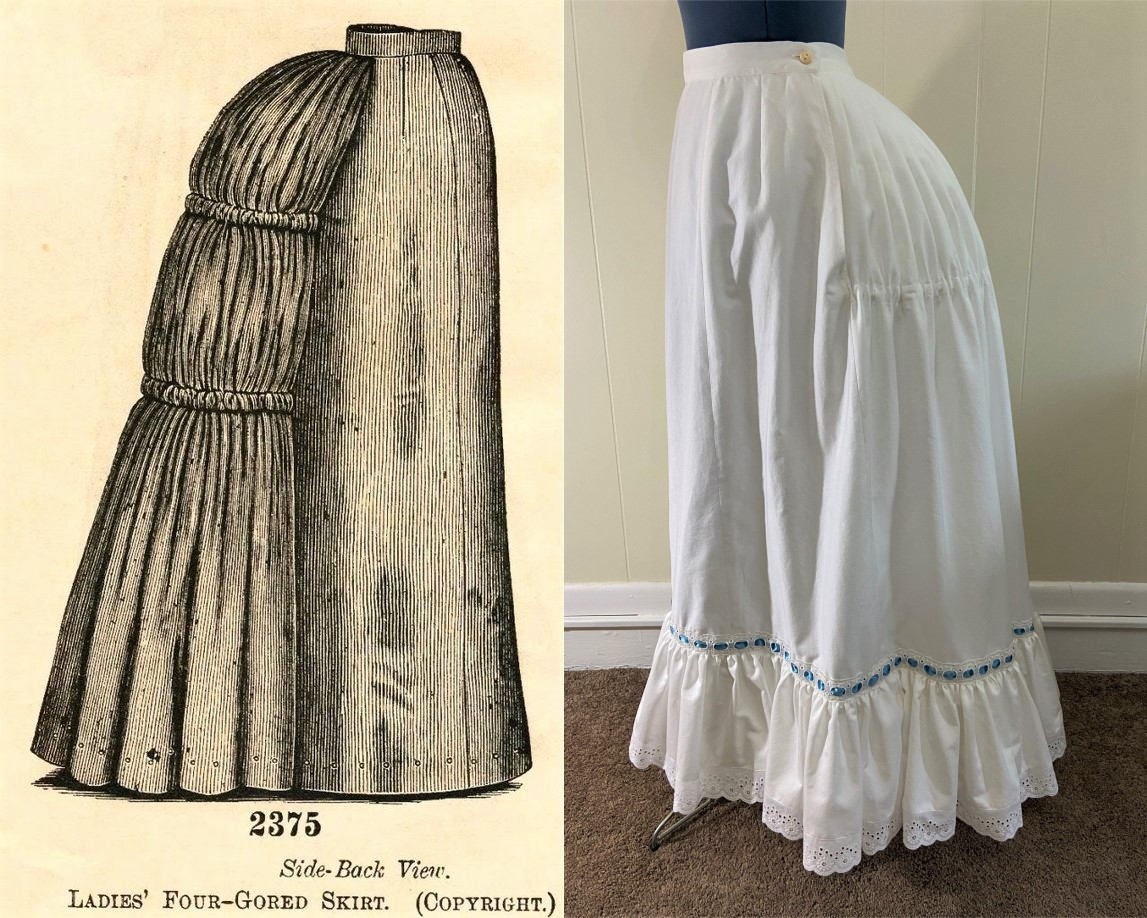
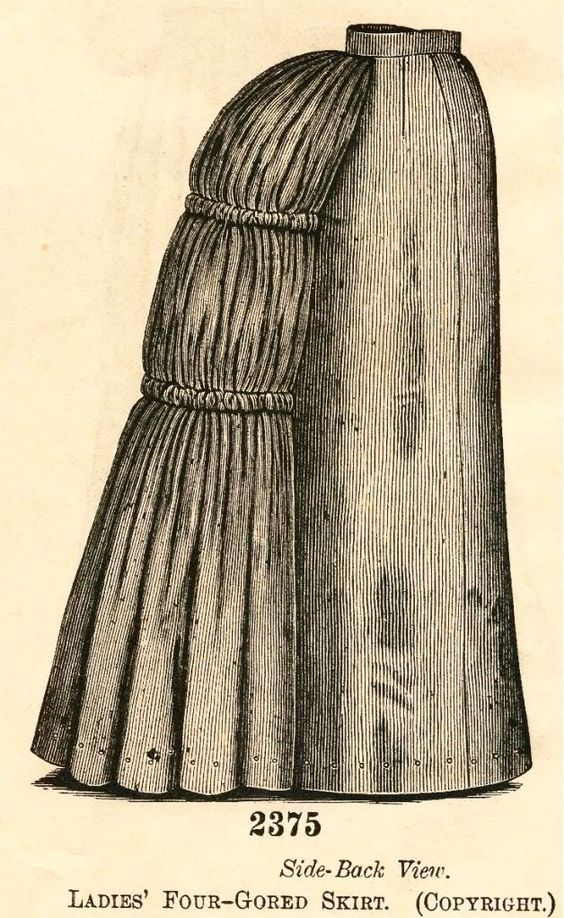
My "underpetticoat" is constructed very similarly to the flounced petticoat of my last post, so I won't go into too much detail here.  I based the pattern on Truly Victorian's 1885 Four-Gore Underskirt, pattern TV261, adjusting the hem lengths of the front and side-front panels.  For the back, I did cut two narrower panels, which were seamed and flat-felled for a center-back opening.  The rest of the panels were French seamed to encase any raw edges, and I finished the waist with bias tape.  

After looking at a few original examples, I chose to add a drawstring across the back to gather the fullness.  This allows for a more adjustable fit, and I can hide some of the bulk by wearing it slightly lower than my natural, corseted waist. 

Waist detail with bias tape finish and drawstring across the back. 
The sides and front of the petticoat are shaped with darts to sit flat against the wearer.

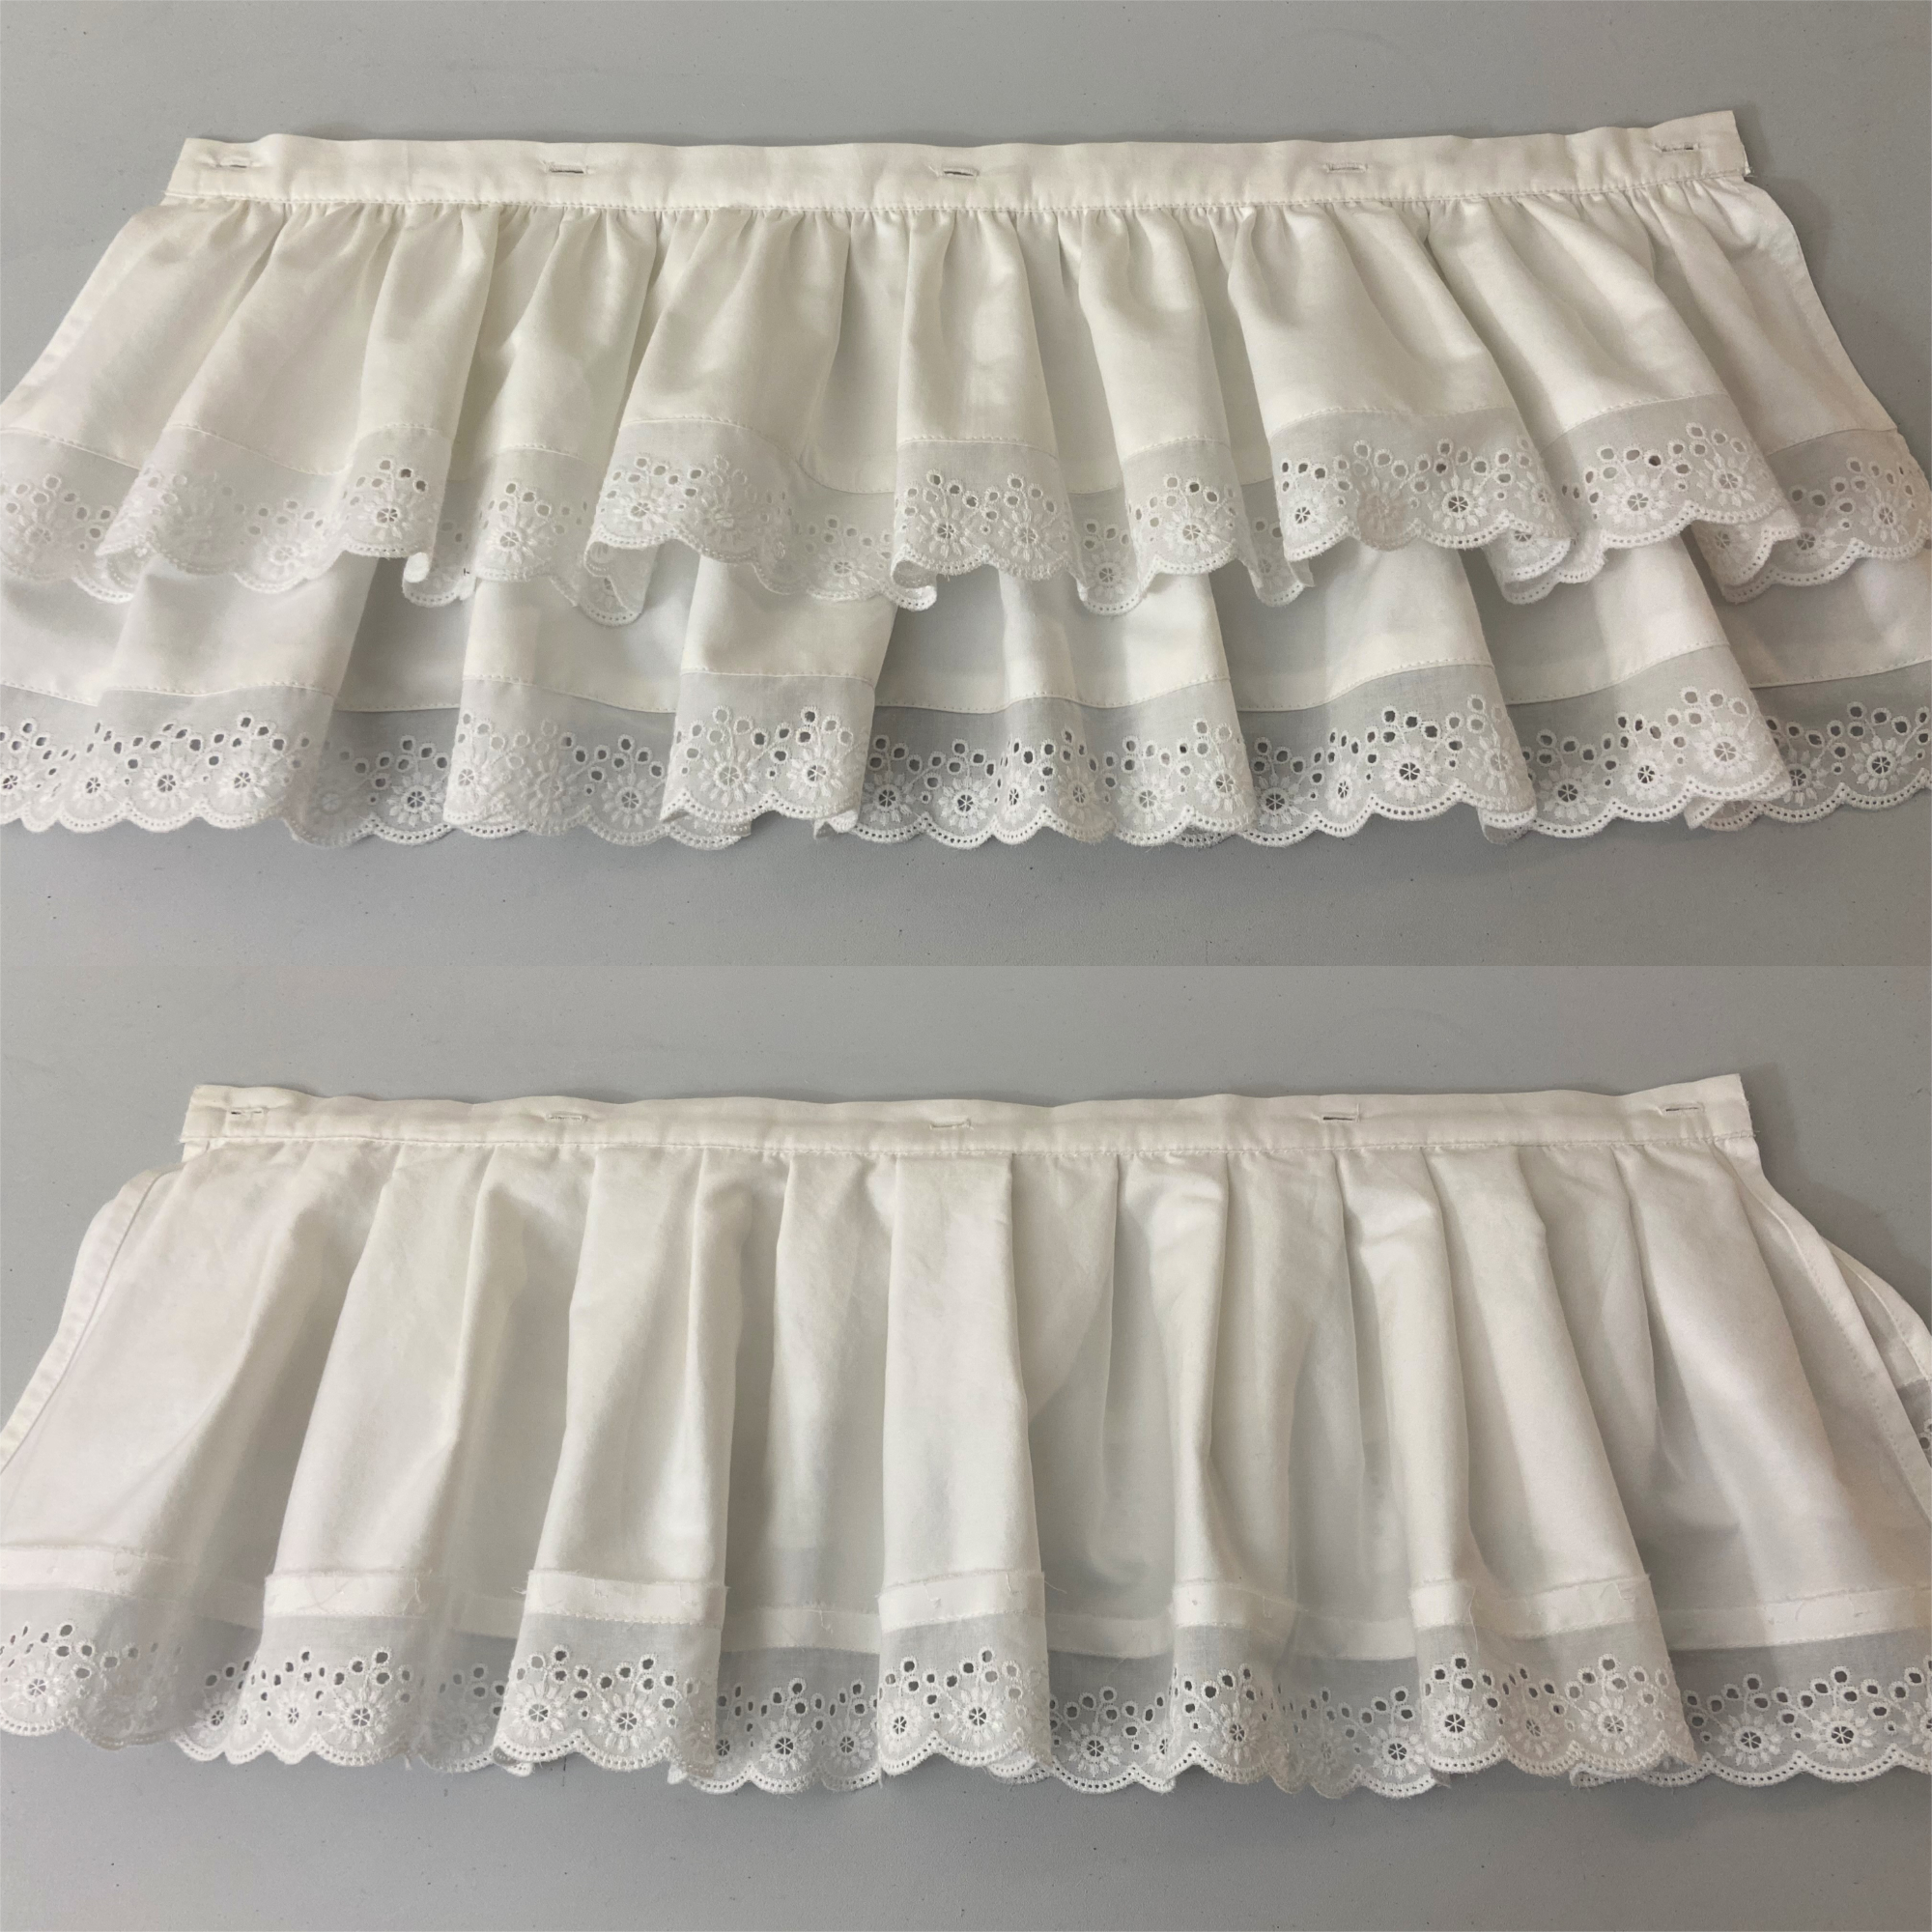
Once the top was finished, I turned by attentions to the hem.  I finished the petticoat with a 1" turned hem, and used the same cord gathering method as before to mount a shorter, more proportional flounce.  Lastly, I covered the raw edges with eyelet beading lace, and ran a blue satin ribbon through the eyelets.

Flounce detail featuring a scalloped whitework hem, eyelet beading lace, and blue satin ribbon.

While not the most impressive project, I am very happy to have a complete, matching set of 1880s undergarments, including this underpetticoat, lobster tail bustle, and flounced petticoat!


Completed Project Pictures

Finished 1880s "underpetticoat" with decorative flounce.

Side view of petticoat.

Other side view of petticoat.

Side back view of petticoat.

Back view of petticoat with drawstring and center back closure.
Notice the gently shaped hem, which is longer in the back than front.

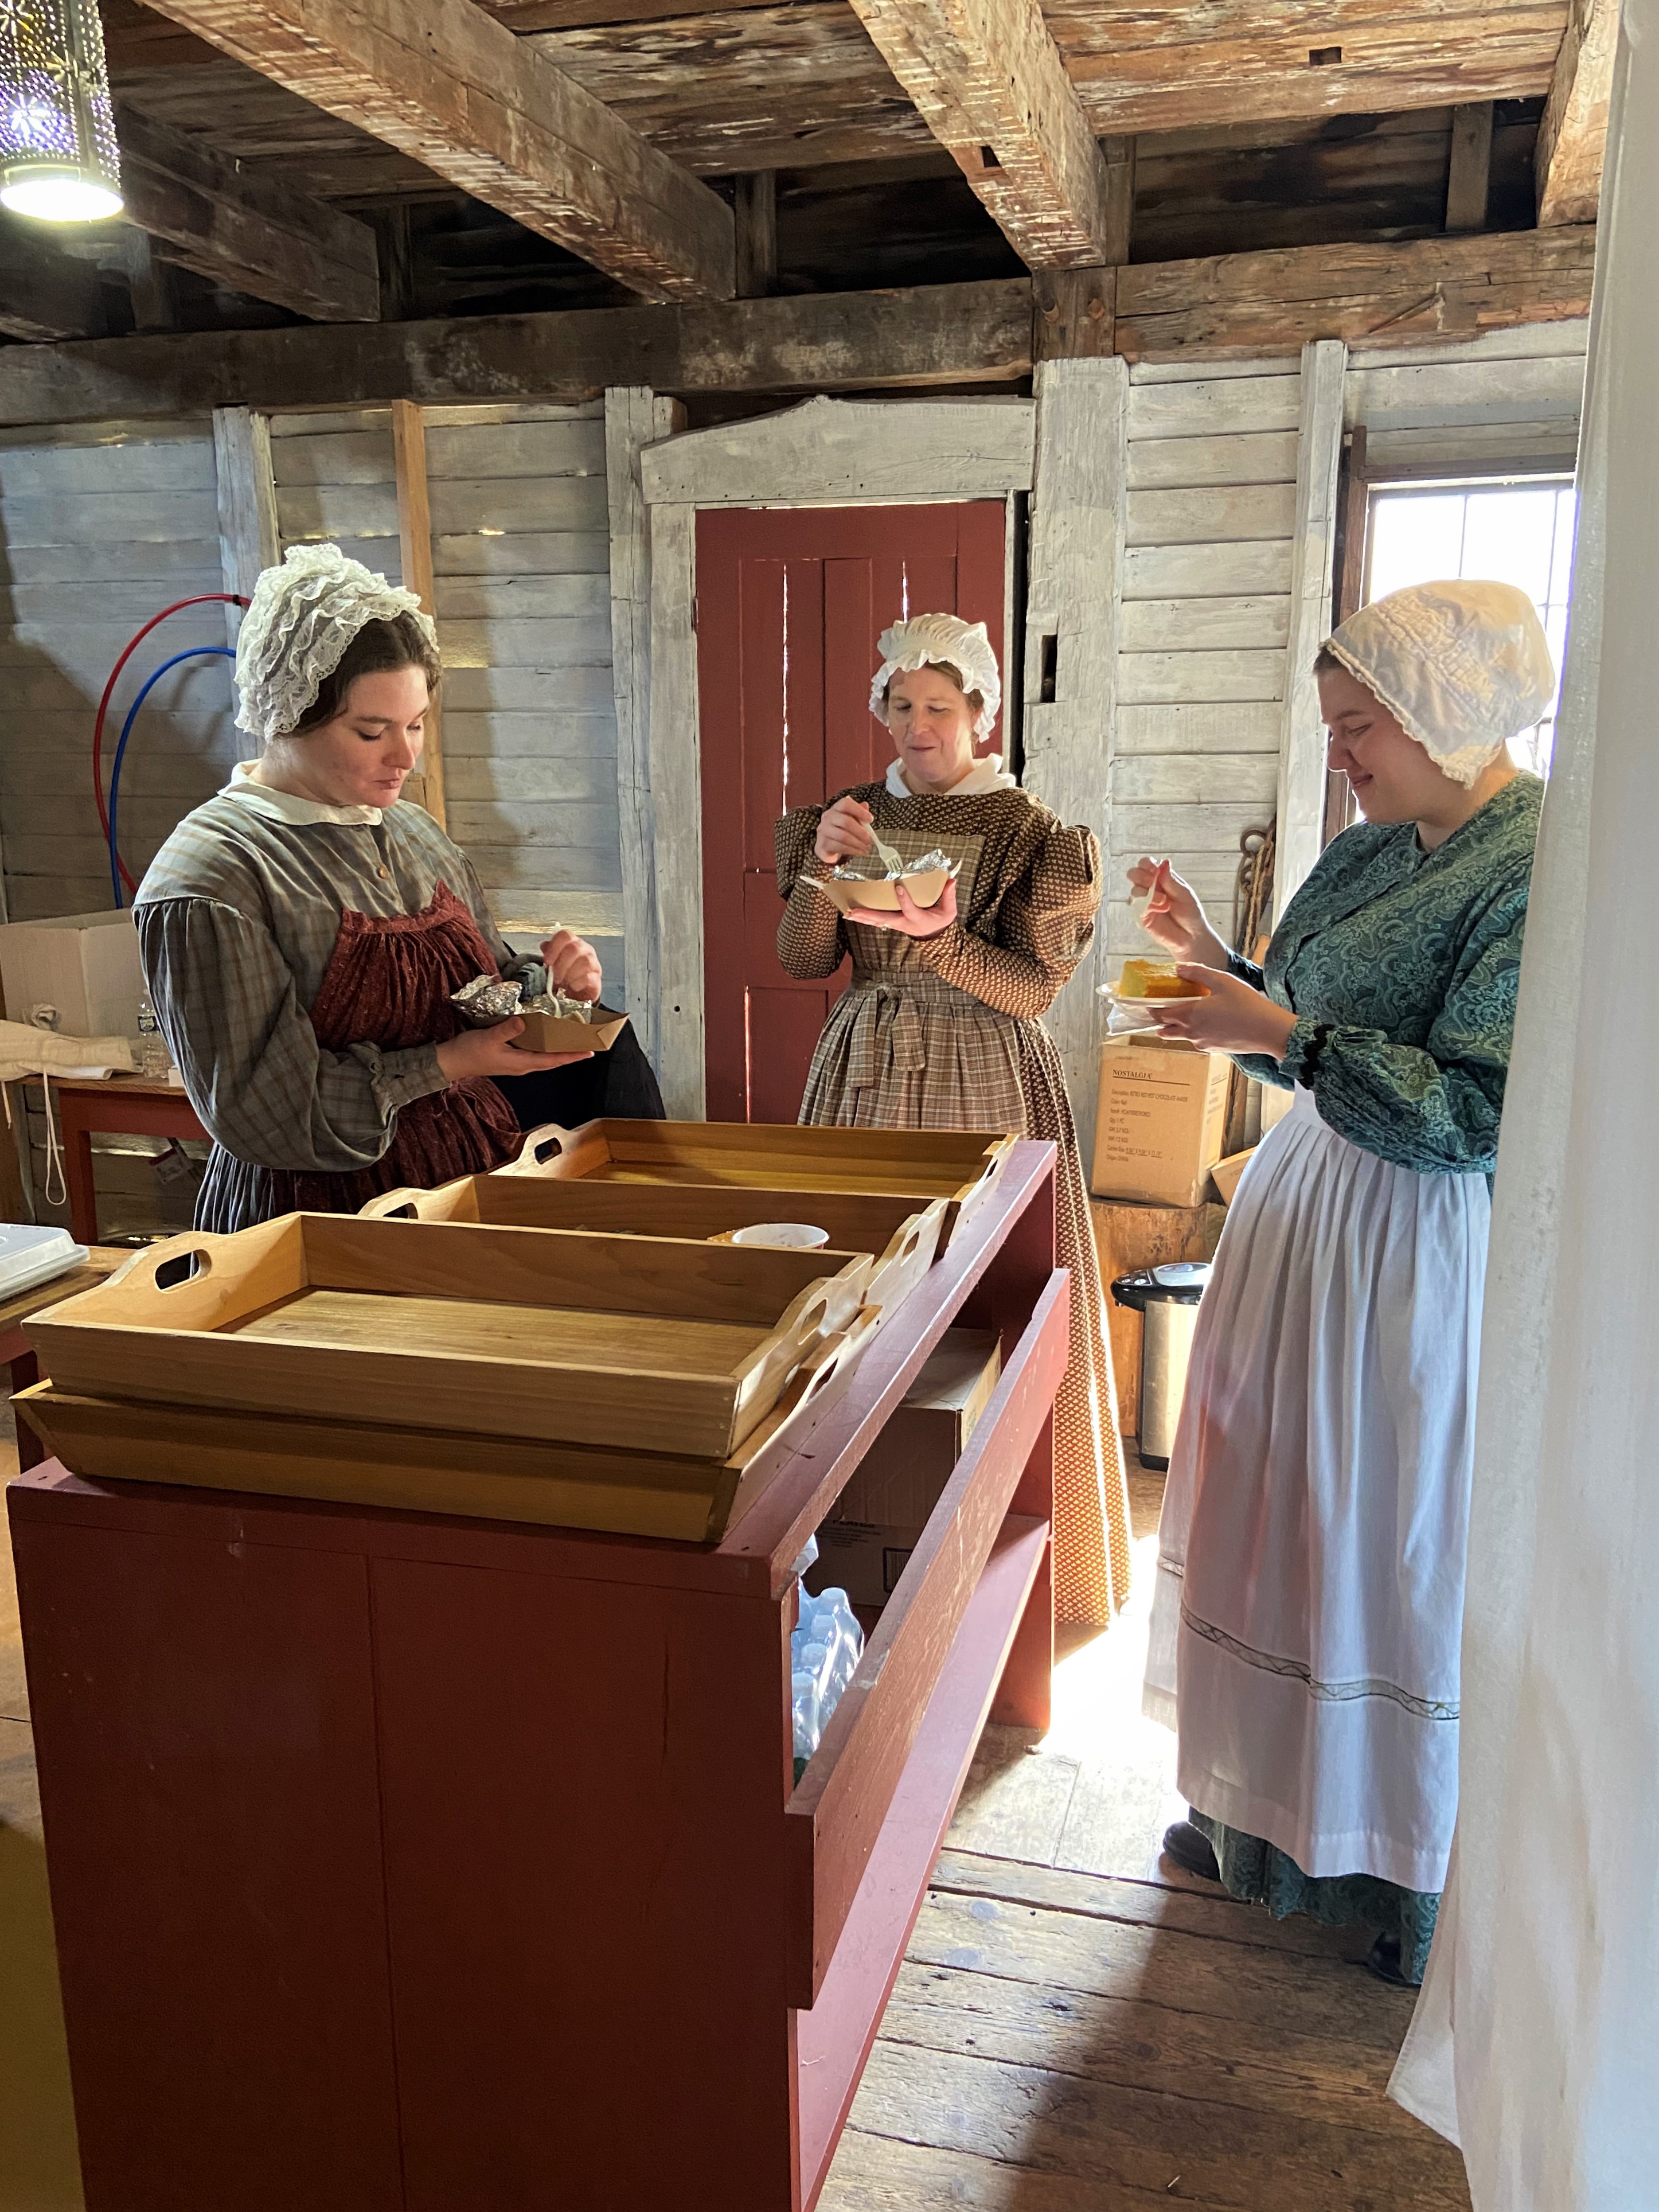
If you've been following on Facebook, you may know that I recently had the chance to sport my Bustle Era undergarments for the "Ladies of the '80s" gallery presentation.  This included modeling each layer of an 1880s reproduction ensemble for the live "getting dressed" portion.  Here's what the petticoats looked like in action:

Modeling the first petticoat.

Adding a second petticoat over the bustle for maximum volume!

Now onto making some dresses so I can live my best Victorian lady life...


Like what you see here and want to support the creation of future content and fashion history programming?  Consider joining us over on Patreon, and you'll also unlock exclusive contents like bonus blog posts and more!  Follow @youngsewphisticate on Facebook & Instagram.

Thank you for reading & special thanks to our generous patrons!

July 12, 2022

A Pretty Petticoat: Making an 1880s Flounced Petticoat

Is it just me - or do you also enjoy making fancifully trimmed underclothing, even though they're rarely meant to be seen?  Following the construction of my lobster tail bustle, the next layer was naturally an 1880s petticoat, and to make it pretty, I had to add a flounce with whitework trim!

Making an 1880s Flounced Petticoat with Whitework Trim.
"Four Gore Skirt" from the Delineator, 1888 (left); and my reproduction petticoat (right).


Historical Inspiration

Petticoats in the Bustle Era served to soften the lines created by shelf-like bustles and to support the overskirt.  Though I had a good idea of what I wanted to create, I did look to a couple originals that showed a similarly trimmed flounce with both scalloped and beaded eyelet.  This example from the 1860-1960, One Hundred Years of Fashion and Accessories website, was particularly helpful:

Victorian Petticoat, 1880s, (Item number xa8775)
Source: 1860-1960, One Hundred Years of Fashion and Accessories

Though an advertisement for a skirt with reeds in the casing and not just ties, this plate from the Delineator magazine, 1888 issue, was also an inspiration.  It was shared here, at the "what-i-found" blog, along with the accompanying magazine description:

Delineator magazine, 1888
"No. 2375. - This skirt is portrayed made of dress goods and plainly finished.  Its three dart-fitted gores and full back-breadth are shaped to produce a graceful, even hanging; and across the back-breadth two reeds are adjusted in casings and tied into curves by tapes or elastics.  A belt finishes the top of the skirt, and the placket opening is made at the left side-back seam.  A small pad bustle is a feature of the skirt; it is shaped in two parts that are narrowest at the top and rounding at the bottom.  A filling of moss or curled hair is used, and the parts are caught together in upholstery fashion.  The top of the bustle is caught to the belt." - Delineator, 1888


Construction Details

To make my petticoat, I used Truly Victorian's 1885 Four-Gore Underskirt, pattern TV261, for the base.  After tracing the pattern pieces in my size onto pattern paper, I adjusted the hem lengths to suit my height, and subtracted an additional inch so it would be shorter than the skirt.  I cut the pieces from a lightweight cotton sateen, as well as a 220" long rectangle for the flounce.  The scalloped whitework trim is the same used for the detachable lobster tail bustle ruffles, and the petticoat flounce ended up being ~8.5" in height when finished.

I forgot to take pictures of it, but I added a twill tape casing to the back piece and inserted a drawstring, which can be adjusted to fit over various sized bustles.  I seamed and pressed each of the darts, and then the side seams, pressing open and finishing each raw edge with zig-zag stitches.  Then I pressed and machine-stitched a 1" hem, since it would be covered with the flounce anyways.  


To gather and attach such a long flounce, I used a method I had been wanting to try for some time - cord gathering!  If you're unfamiliar or need a refresher on the technique, The Dreamstress wrote a wonderful tutorial, here: "How to sew gathers & ruffles with cord gathering (aka the easiest way to gather, ever)"  

After dividing the flounce into four equal parts, I zig-zag stitched blue button twist thread a half-inch below the unfinished top edge.  Then, pinning quarters again, I pulled the button twist to draw the gathers, and added more pins so I wouldn't have to worry about shifting off the stitch line, or take the time to baste:

Drawing up the cord gathers and pinning generously!

Next, I took it to the machine and stitched slightly below the zig-zagged line:

Stitching on the flounce

Because the cord I used was light blue, I did take a few minutes to unpick and remove it, even though it was going to be covered with more trim...

Removing the light blue cord/gathering thread

Flounce attached!

More is more in the Victorian Era, so I went ahead and covered the raw edges with eyelet beading lace, which was carefully edge stitched on the top and bottom:

Adding eyelet beading lace, which also covers the raw edges of the flounce

Eyelet beading lace attached!

The last step was to draw a satin ribbon through the eyelet and tie a bow at the center front! 

A blue satin bow for the finishing touch

With the flounce attached and fully trimmed, all that was left was adding a waistband and a bone button and button-hole closure:

Side closure with bone button and button-hole

The front and sides of the finished petticoat are flat, with shaping provided by the darts and gored hemline, and the back features directional knife pleats. 


Completed Project Pictures

Here's the finished petticoat worn over the lobster tail bustle: 


The petticoat's fullness is controlled at the back with directional knife pleats and ties in a bias-bound casing.  This also allows the wearer to adjust the petticoat to fit a variety of bustle sizes.

Decorative flounce mounted on top of skirt, and revealing hemmed petticoat underneath

Do you like to make your 19th century underclothes pretty, or utilitarian?  Next up in the Bustle Era series is either a second petticoat, or onto the skirt and draperies! 


Like what you see here and want to support the creation of future content and fashion history programming?  Consider joining us over on Patreon, and you'll also unlock exclusive contents like bonus blog posts, live chats, and more!  Follow @youngsewphisticate on Facebook & Instagram.

Thank you for reading & special thanks to our generous patrons!

June 13, 2022

Go Bustle, or Go Home: Making an 1880s "Lobster Tail" Bustle

There comes a time in every historical costumer's life when they decide to leave comfort behind and dive into a new era's clothing...which means building the look from the undergarments, out.  That's right - it's BUSTLE time!  And to start, I made an 1880s "lobster tail" style bustle:

Making an 1880s "Lobster Tail" Bustle. 
MET Museum Original on the left, my reproduction on the right.

Historical Inspiration

When the bustle came back in 1883 for what is referred to as the Late Bustle or Second Bustle Era (1883-1889), it was bigger and better than before.  Fundamental to the fashionable silhouette, a structural undergarment, called a "bustle," was worn to create a shelf-like protrusion at the rear.  While bustles were made in a variety of shapes and from various materials, one of the most iconic styles from the 1880s was the "lobster tail."  Named for its resemblance to the coastal crustacean, these bustles featured cascading rigid hoops, often mounted to fabric and decorated with a flounce, for a shell-like appearance.

I was drawn to a particular example from the Metropolitan Museum of Art, specifically because of the double-tiered, detachable flounce.  Its purpose was two-fold: to soften the line from the hoops, and to allow for easy removal for laundering.

Bustle, 1880s.
Metropolitan Museum of Art, (C.I.43.22a–c)

Bustle, 1880s, side.
Metropolitan Museum of Art, (C.I.43.22a–c)

I did my best to source a similar whitework trim for the flounces on my reproduction, though I mounted them lower than the original, which was in line with what I saw on other extant examples.


Construction Details

To make my reproduction, I used Truly Victorian's Imperial Tournure, pattern TV163 for the base.  Since I don't like to cut the original, multi-sized patterns, I traced the pieces in my size onto pattern paper, and cut them from a sturdy cotton twill.  There was an option to order precut and tipped boning from the company a while back - and I totally recommend the shortcut, if it's still available.  

The instructions were clear and easy to follow, so I mostly followed them...here's a few pictures of the construction process: 

I used a frixon (heat-erasable) pen to mark the boning channels

Pining single-fold bias tape to create the channels

Boning channels all stitched!

I did use the same bias tape to face the sides and inner pieces to finish the edges, which I thought looked nice.  Rather than use the provided flounce from TV163, I encased the lower edge into the final boning channel.  To finish the waistband, I added a vintage mother-of-pearl button and button hole.  

Here's what the finished bustle looks like without the detachable flounce:


Next step was to create the double-layered flounce.  For the ruffles, I ripped two, long rectangles from cotton sateen, added the whitework trim, and top-stitched through the layers to ensure the edges stay upward and out of sight.  Then, I pleated and gathered each layer individually, and mounted them to a single band.

Here's the finished, removable flounce:

Detail shot!

Detachable flounce, front and back.
The longer ruffle was pleated, and the shorter ruffle was gathered onto a single band.

The flounce buttons onto the bustle with 5 vintage, mother-of-pearl buttons and button holes to complete the "lobster tail" look! 


Completed Project Pictures

Here's the side-by-side comparison - original 1880s bustle from the MET Museum on the left, my reproduction on the right:

1880s Lobster Tail Bustle


Now onto the next layer...a Bustle Era petticoat! 

Like what you see here and want to support the creation of future content and fashion history programming?  Consider joining us over on Patreon, and you'll also unlock exclusive contents like bonus blog posts, live chats, and more!  Follow @youngsewphisticate on Facebook & Instagram.

Thank you for reading & special thanks to our generous patrons!

March 19, 2022

The Sweetest Event of the Year - Maple Sugar Festival!

March means maple sugaring season, and the return of the Genesee Country Village & Museum's sweetest event - the annual Maple Sugar Festival!  Celebrated over two weekends - this year: March 19th & 20th; and March 26th & 27th - there's fun for the whole family!  From the ever-popular pancake breakfast (tickets sold separately); to sap collecting on the Maple History Trail; syrup making at the Sugarhouse; Haudenosaunee storytelling (with ASL interpretation on select dates); and historical trades & cooking demonstrations throughout the Historic Village - both new and favorite traditions abound. 

In fact, my first memories of the event were from a stroller...which gives you an idea of just how long I've been attending the festival!  Since 2014, however, I've been behind-the-scenes, pouring beverages and plating food as part of the historic dining team.  Fast forward to this year, 2022, I'm now running the Hosmer's Inn Luncheon, and overseeing the amazing historic dining team (seriously grateful for the entire team who make the history happen!).  Some of the members were working today, and are picture below as they take a break to enjoy their lunch: 

Hosmer's Inn Luncheon at the Maple Sugar Festival
Historic Dining team members sitting down to enjoy lunch themselves! 

Maple Sugar Fest also happens to be personally significant as it marks my 1-year workiversary in my current role as Manager of Community Lifeways, and 8 years (9 museum seasons) with GCV&M.  (If you're interested in reading more about what I do, in addition to overseeing the Historic Dining programs, find all the details in this blogpost: Going, Going, Gone: A Recap of Season #8!)


Back to the Hosmer's Inn Luncheon...have you ever wanted to dine in a historic inn?  During each day of the Maple Festival, we're serving a selection of savory, cold weather favorites from 11am-2pm, with dine-in and (limited) to-go options! 

Murie carrying a tray into the front parlor.

After you step into the cozy inn, which has been transformed to seat up to 45 guests at a time, our costumed servers are ready to take your order and serve up some lunch or midday beverages (which would pair perfectly with any of the sweet treats available from the Confectionery across the Village Square).  Escape the cold (and rain or snow) and warm up by any of the four fireplaces we keep blazing - sit back, relax, and chat about your favorite activities so far!

Here's a look at your four dining room choices; and yes, you are more than welcome to seat yourselves, or our servers will be happy to guide:

Front parlor

Private dining room

Family dining room

Tap room

Which room is your favorite?

As for the menu options: enjoy a bowl of homemade chili with a generous slice of cornbread and butter, which is a new offering this year.  Top a baked potato with sour cream, cheese, and maybe even chili, or keep it simple with salted butter.  Hot beverage options include the historic American Heritage Chocolate, as well as modern hot chocolate, tea (regular and decaf), and coffee; ice cold bottled water is also available.


Luncheon menu offers a selection of savory, cold weather favorites like homemade chili, cornbread, baked potatoes, and warm beverages, including the historic American Heritage chocolate drink.
Hosmer's Inn is open for dining each day of the festival, from 11am-2pm. 


Backroom Baked Potato Break!

And finally, the obligatory OOTD (Outfit of the Day) picture for Maple Sugar Festival, Day One!  Kelly & I both rocked our Maple browns!  I'm literally SO obsessed with her new dress (which she made just in time for the event) - whereas I threw together some work clothes from my closet this morning: 

The obligatory OOTD (Outfit of the Day) picture for Maple Sugar Festival, Day One!
Kelly & I both rocked our Maple browns!

There are three more dates to catch the event, so don't miss your chance to dine with us at Hosmer's Inn by purchasing your tickets at: Maple Sugar Festival & Pancake BreakfastHope to serve you then! 

That's a wrap for Day One of the Maple Sugar Festival!
See you out there tomorrow and next weekend!

We ❤︎ Our Patrons

Like what you see here, and want to support future blogging and educational programming? Consider becoming a Patron - click on the button below to unlock exclusive contents, bonus blog posts, and more! Every contribution makes a big difference, thank you!