
D.I.Y Fairy Tutu Directions

Sizing: If your little fairy is around, measure and record her waist size and desired length. Otherwise, this chart, created for summer camp use, may come in handy:


- Tulle
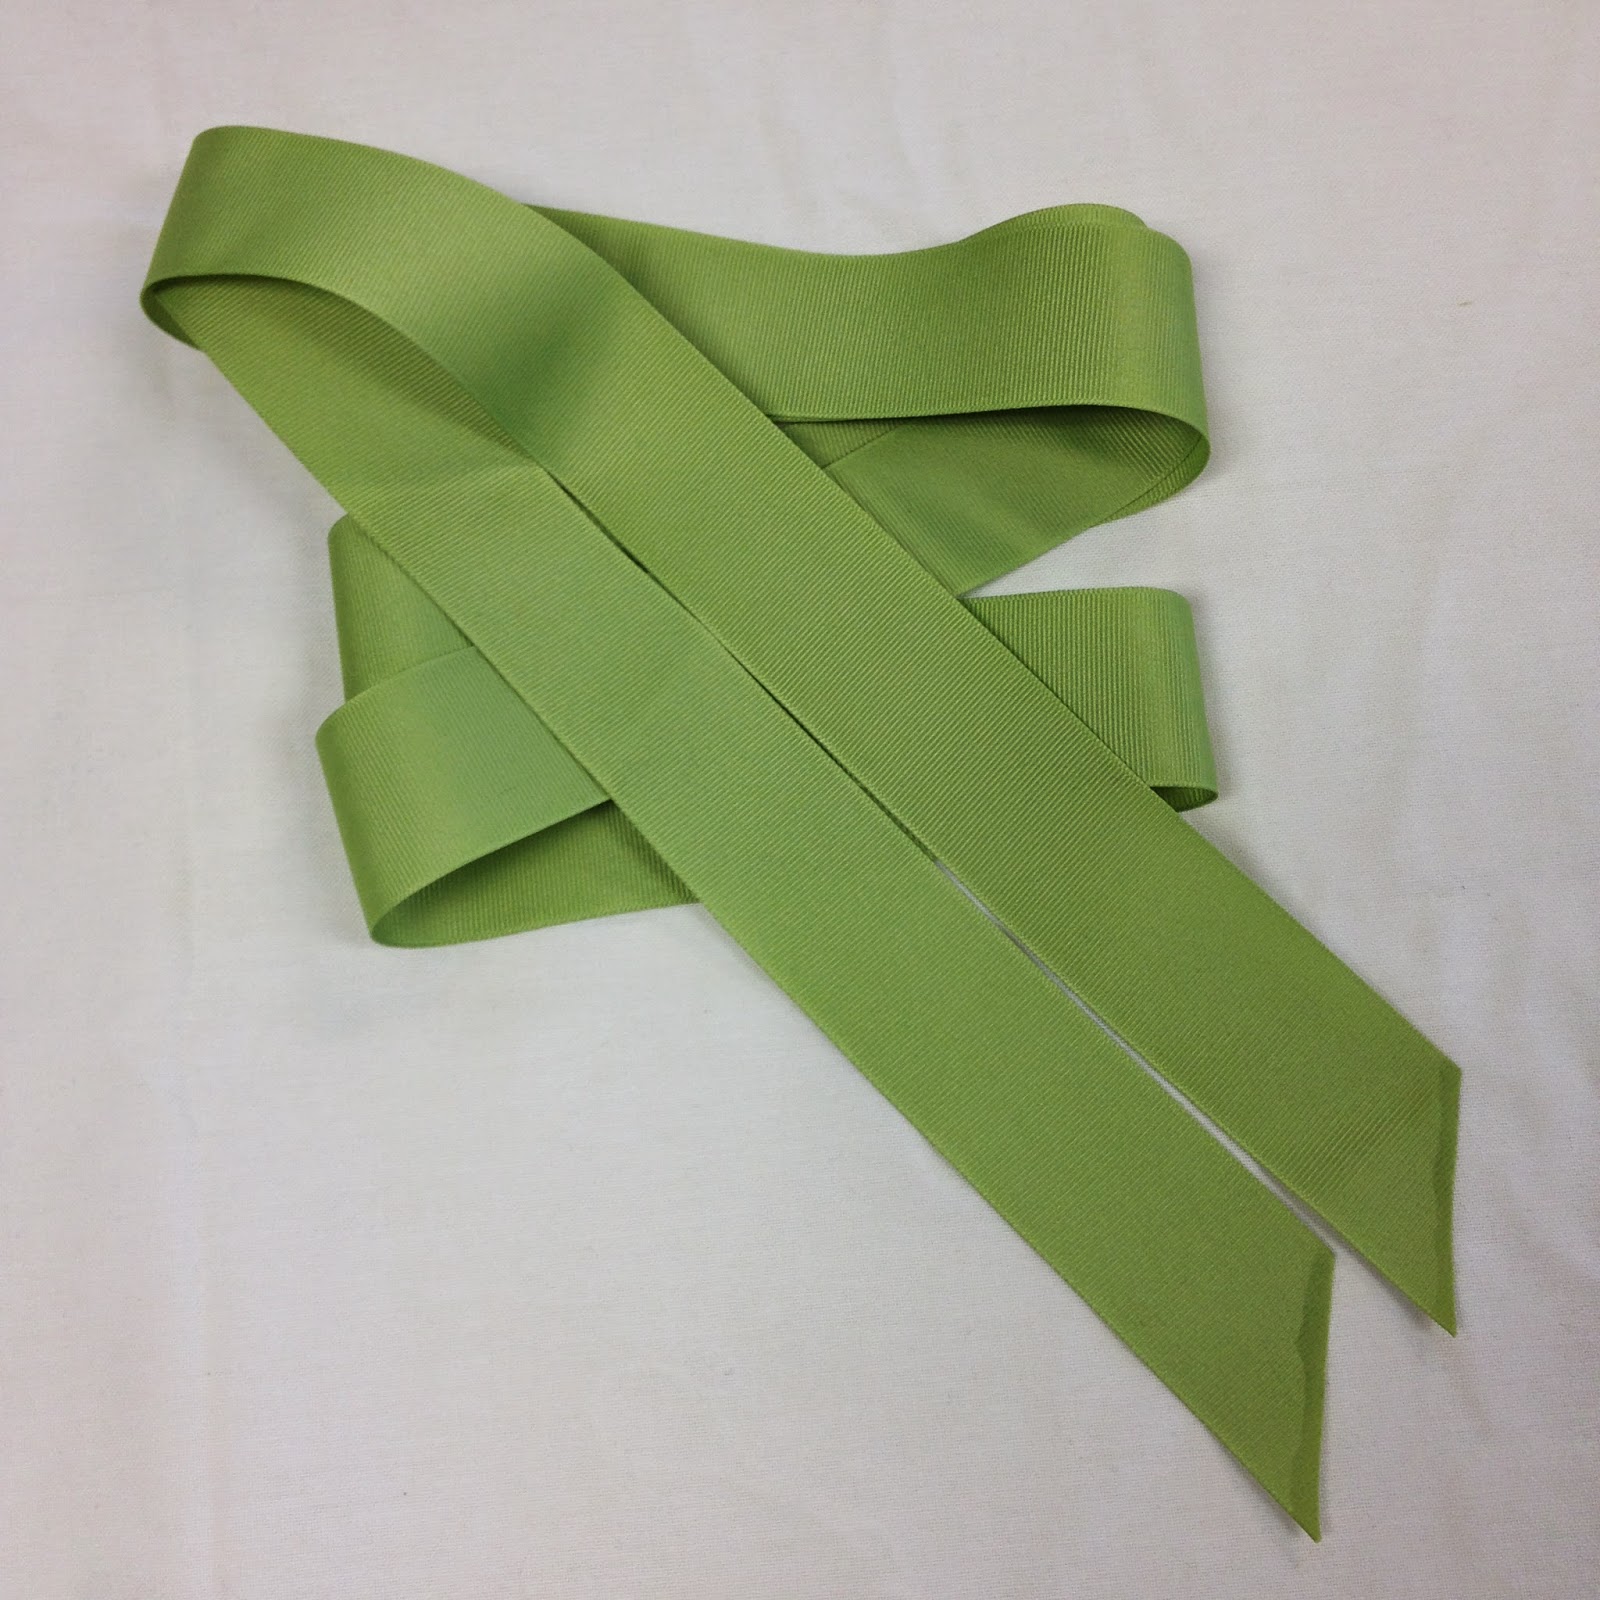
- 2 yards of 1”-2” ribbon (I used 1.5” grosgrain)
- 5 or more felt squares
- Optional: fray check or a lighter to seal the edges of the ribbon
- Scissors and sewing supplies
Pattern:
The leaf and petal skirt pattern below is intended to be used for ages 4 and 5. It is only a size guideline, and you are always welcomed to adjust the design as desired.
 |
| Print me! Scale: 8.5" by 11" |
To create larger leaves and petals:
(1) Fold the felt square in half widthwise, or “hot dog style.”

(2) Cut the desired petal shape (as pictured). Round the edges from the bottom point at the fold to the side; then, again, from the side to the top point at the fold

(3) Continue to clip the edges if desired for a “leaf” design.

Step one: prepare the petals. Gather the felt squares to cut into skirt petals and leaves. Either trace or pin the pattern piece and cut. (I found it easier and quicker to just simply fold the felt and cut the petals directly from the squares).


Step three: arrange the petal and leaf skirt. Lay the waistband ribbon right side down, and choose a leaf for the center. Match the center of the leaf to the center mark of the waistband, pin right side down. Continue to pin the petals and leaves along the waistband so that the widest parts of the leaf extends slightly beyond the outer pins.

Step four: continue to secure with pins and top stitch a narrow 1/8” from the bottom edge of the waistband on the front side. Make sure to catch all of the layers.


Step five: cut the tutu tulle. First, determine the width by doubling the waist measurement and adding an extra 3” to 5” for ease. (ex: for a 4 year old, that would be 43” to 45”).
Then, using the skirt length as a guide, fold the tulle accordion style for three skirt layers OR fold the tulle in half, and then half again for four layers. (ex: for a 4 year old, the length is 10”, three layers would equal 30” in total length, and four layers is a total of 40” in length). Trim off any extra tulle.
Step six: gather the tulle. Before stitching, pin or mark the center front. I also found it helpful to pin along the fold to keep the tulle in place.

Run two rows of gathering stitches – 1/8” and 1/2” from the folded edge – across the entire length.

Step seven: attach the tulle to the skirt. Match the center of the tulle to the center front of the waistband. Then, match the outer edges of the tulle to the outer pins.

Pull and distribute the gathers evenly to each side and pin. I would also recommend basting at this point.

Stitch securely with another row of small stitches on top of the first set, 1/8” from the edge of the waistband. Cut along the bottom fold of the tulle to free the layers of the tutu skirt if necessary.
Step eight: decorate as desired. I added flowers and craft gems. Enjoy your new creation!


Let me know if you give tutu tute a try...I want to see pictures! Thanks for reading!
Next up: DIY Forest Tunic Tutorial.
Next up: DIY Forest Tunic Tutorial.

No comments:
Post a Comment