
I made a morning - not to be confused with "mourning" - dress or wrapper, which is a garment intended to be worn in the privacy of ones home, or before getting more properly dressed into an afternoon or "walking" dress. With now two "Getting Dressed in the 1820s" presentations coming up - in both August and October 2023 - I wanted something to throw on for modesty and comfort, before dressing in front of a live audience. This blog post details the inspiration behind, construction of, and then styling of an early-1820s morning dress:

Historical Inspiration
Before diving into a new project, I like to pull together a Pinterest board of inspiration images - these include extant examples from online museum collections, fashion plates, historical portraiture, and any period pattern diagrams. Ever since I saw this polka-dotted printed dress, c.1810-1815, in the DAR's "An Agreeable Tyrant" exhibit, I've been wanting something similar. And I'm not the only one in love with it - as some of my Instagram followers let me know - there's actually a Fig Leaf Pattern for this exact dress, available for purchase through Burnley & Trowbridge!
While my morning dress is not a replica, I did take inspiration from the cross-over or surplice bodice, and the ruffles along the neckline, sleeves, and skirt hem. Of course, I also used a small, red polka-dotted print! I ended up purchasing a bolt of 100% cotton quilting fabric from JoAnn's online with a coupon, which worked for my purposes.
 |
| Polka-dot printed dress, c.1810 - 1815. From a private collection, displayed as part of the DAR's "An Agreeable Tyrant" exhibit. |
Two other examples of morning wrappers specifically influenced my design, including this one from the MET museum: I liked the small, guessing 1" - 1.5" ruffled trim along the edges, and the skirt opening falls at the side, just about where mine does too.
 |
| Morning Dress, c.1810 - 1820. MET museum, (accession number: 1978.88.1) |
As well as this example of a "wrap over gown" from the Victoria & Albert Museum, which has a similar crossover bodice to mine:
 |
| Peignoir, made c.1812-1814. V&A Museum, (accession number: T.798-1913) |
Construction Details
The pattern for this project was, well, an experiment and mash-up of several other patterns. For the lining and back pieces, I used my self-drafted bodiced petticoat pattern, and just raised the neckline by 1.5" all around. I flatlined the back lining and fashion fabric pieces, and then attached them to the front lining, only, at the shoulders and side seams. The lining flaps close with two metal hooks and thread eyes, first, and then the crossover.
 |
| Front lining provides structure and interior support, and is seamed with the back at the shoulders and sides. The wearer fastens the lining first, with two metal hooks and thread eyes, before the crossover portion. |
 |
| The fashion fabric and lining are treated as one at the back. After stitching, all of the seams were pinked and pressed flat. |
For the front crossover portion, I used an altered version of the bodice front from the Elegant Ladies' Closet by Sense & Sensibility patterns. I had used this before for a shortgown, and had to reshape the neckline, armscye (to fit with my lining pattern), and waist. Once I had the pieces cut out, I matched them at the shoulders and sides of the bodice, and basted generous pleats along the waistline. Here's what the crossover portion looked like before trimming and finishing:
 |
| Added a crossover front with a shaped neckline and the fullness pleated at the waist. |
Next, I added a waistband, which I realized later I had not accounted for when I was measuring for the skirt (so I had to redo the skirt hem at least once). Speaking of the skirt, it was just rectangles, balanced (so that the back was slightly longer than the front), pleated, and seamed at the waist. I did whipstitch a cotton muslin facing over the waistband to enclose all of the raw edges and to keep the interior tidy.
Then, I turned my attention to making the trim. This was easy - just long strips seamed together and knife pleated. I did this at the machine, just eyeballing the spacing, and made sure to change directions at the center back, so the pleating would be directional. I had to make enough trim for the entire neckline, front edge, hem, and sleeves.
Once I attached the trim to the raw edges, I made cotton muslin facings to cover all of the raw edges. The facings all had to be handstitched, as these stitches would be visible from the outside. It didn't take too long overall, and I'm happy I enclosed all of the raw edges, in case the front edge flips open and to protect the hem from wear.
 |
| Pleating trim for the neckline, front edge, skirt hem, and sleeves. |
Once I attached the trim to the raw edges, I made cotton muslin facings to cover all of the raw edges. The facings all had to be handstitched, as these stitches would be visible from the outside. It didn't take too long overall, and I'm happy I enclosed all of the raw edges, in case the front edge flips open and to protect the hem from wear.
Here's some more in-progress shots of attaching the skirt, pleated trim, and an interior shot before I added the interior waistband and facings:
 |
| Pleated trim on the front. To enclose all of the raw edges, I added facings from plain cotton muslin, which had to be handstitched in place as the stitches would show on the outside. |
 |
| Pleated trim on the back. I used directional knife-pleating for both the skirt and the trim, switching directions with box pleats at the center back. |
 |
| A detail shot of the interior, before I added the waistband facing to enclose the raw edges and neatly finish the interior. |
Apparently, I stopped taking pictures from this point to completion. But, I did make straight sleeves (another pattern pulled from my stash) with pleating at the wrist; and added interior twill tape ties and more metal hooks and thread eyes to the crossover portion to securely fasten the morning gown.
Completed Project Pictures
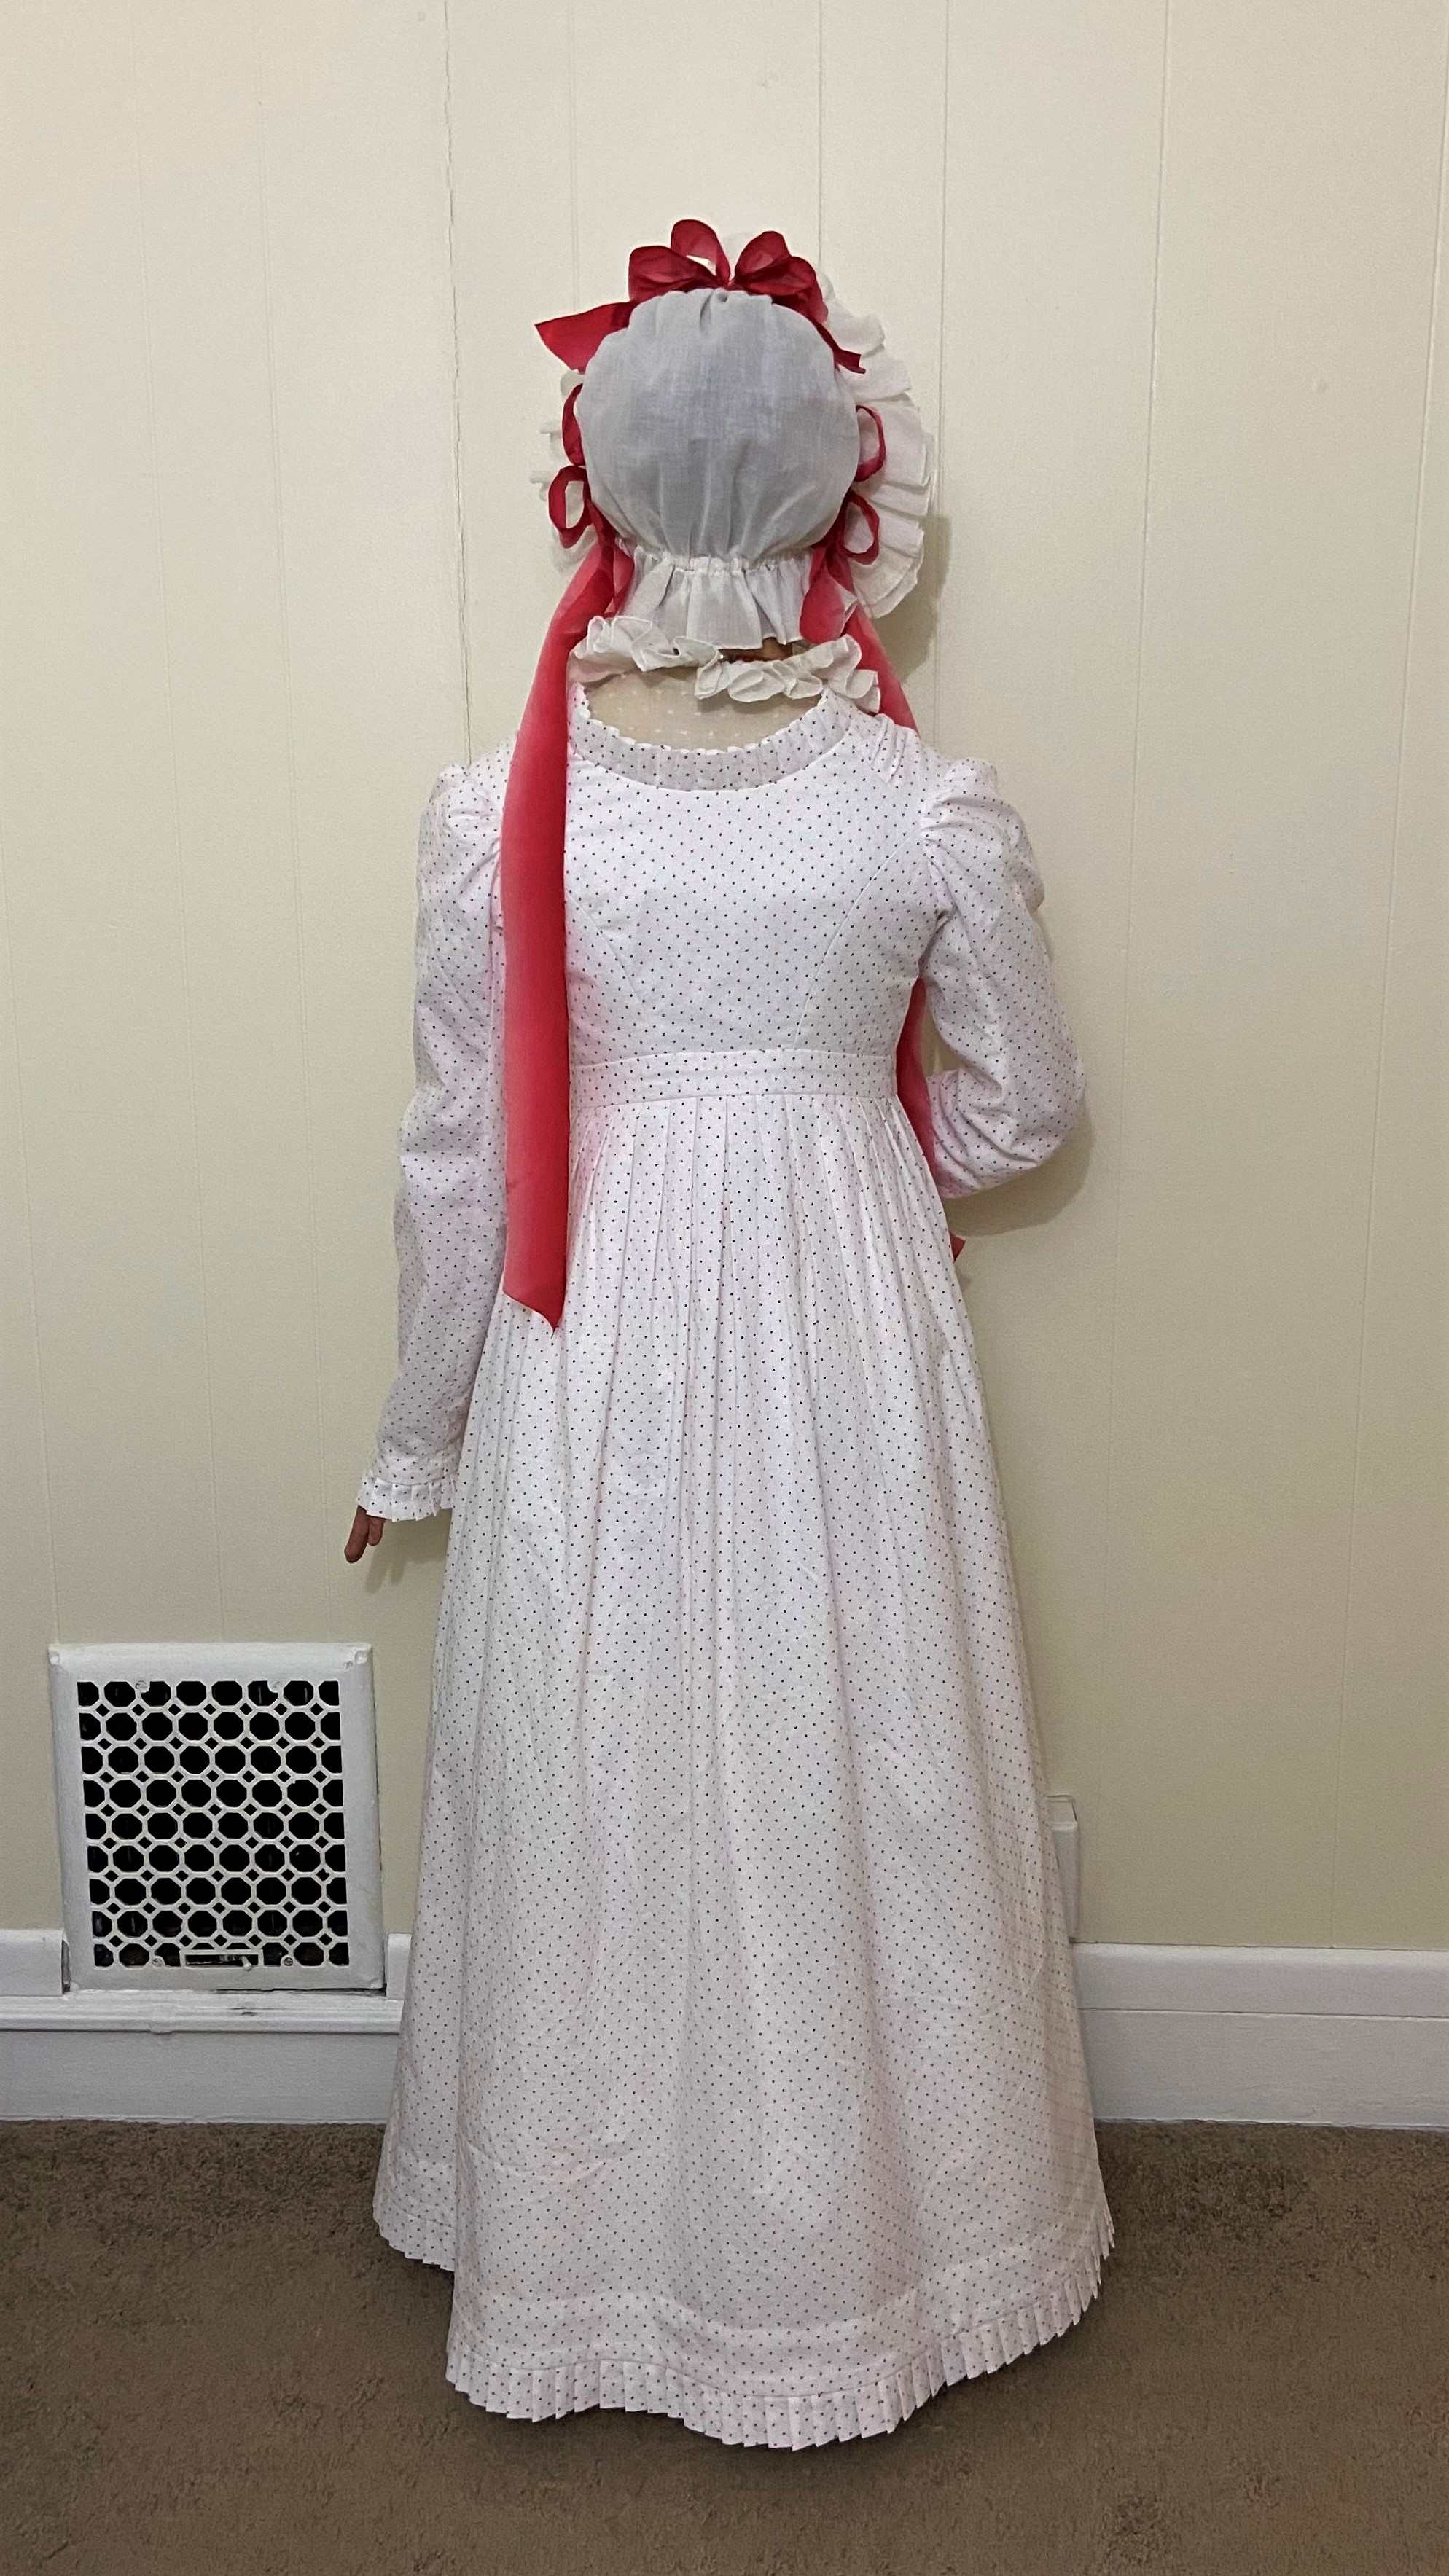
To style my newly-completed morning dress, I trimmed a cap and tasseled slippers (to be featured in their own, separate post) with a vibrant, pink to red ombré ribbon. I wore the morning dress over clocked stockings, a shift, long corded stays (though wrappers can also be worn without support garments), and my 1820s corded petticoat. In addition to the cap and slippers, I accessorized with a coral necklace, chemisette, large coral drop earrings, and face-framing curls.
Per usual, I took a lot of pictures from all the different angles:
.JPG) |
| 1820s morning dress with the petticoat's flounced hem peeking out. |
.JPG)
.JPG)


I also took some seated pictures, as this was actually only a few days after a minor foot procedure, and I was having trouble walking on my foot...
.JPG)
.JPG) |
| The completed 1820s morning ensemble! |
Like what you see here and want to support the creation of future content and fashion history programming? Consider joining us over on Patreon with pledges starting at $2/month, and you'll also unlock exclusive content like bonus blog posts and more! Follow @youngsewphisticate on Facebook & Instagram for regular updates.
Thank you for reading & special thanks to our generous patrons!

I loved this post so much! It's such a gorgeous garment! I am in the process of making a pink linen crossover dress with pleated trim. So much pleated trim!!! LOL
ReplyDeleteRevamping my style has made me more conscious of the power of a well-tailored outfit. I've learned to pay attention to fit and proportions, which can make a significant difference in how I feel about my appearance. It's all about the details!
ReplyDelete